Christine de Beer - effortless floral craftsman
Weaving and Interweaving for contrast
- 29 May 2019
- click to send Christine a smile
- and more
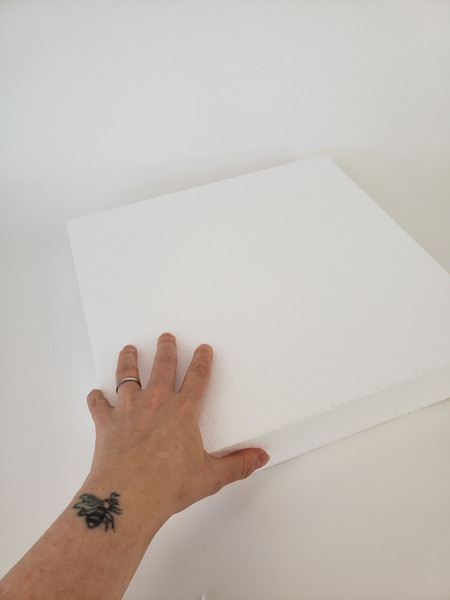
Choose a large Polystyrene block as a basic structure for the design. I rescued this block- it is a great way to find a new use for packaging!
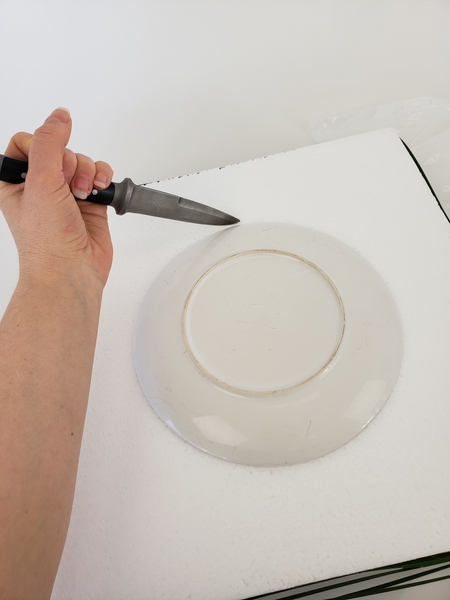
It's fairly easy to sculpt and shape with a sharp knife and then a warm wire cutter...
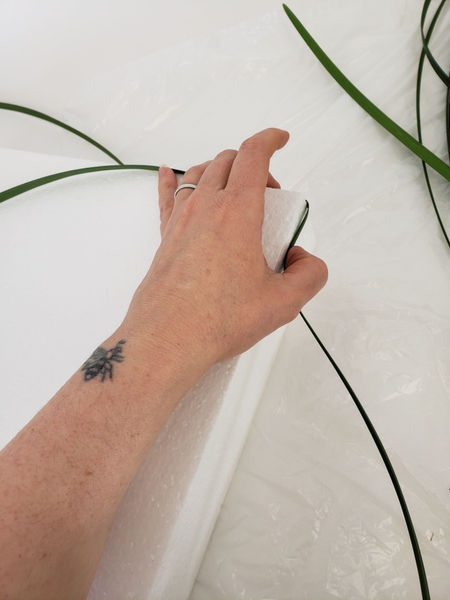
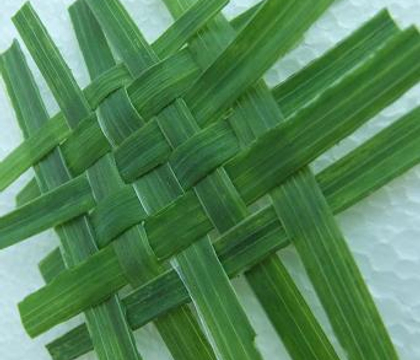
Start your weaving pattern around the edge of the block. I prefer using a simple under and over pattern for my weaving pattern. Especially if I am also using other techniques because really complicated weaving patterns can so easily overwhelm and distract from the overall look. It might just be the minimalist in me. Choose a weaving pattern that best suit your style and taste.
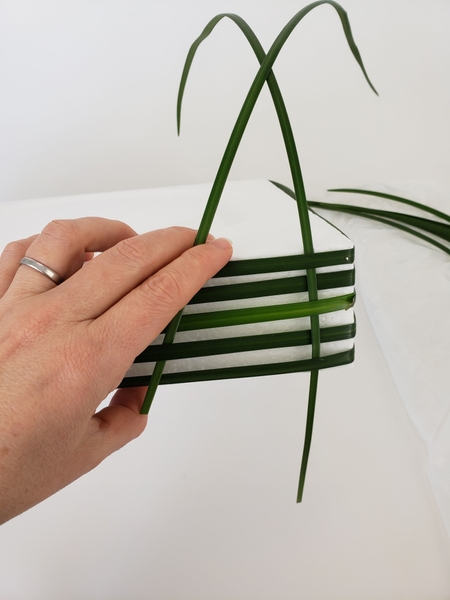
Secure the horizontal bands around the outside of the block and then start weaving the vertical blades of grass in.
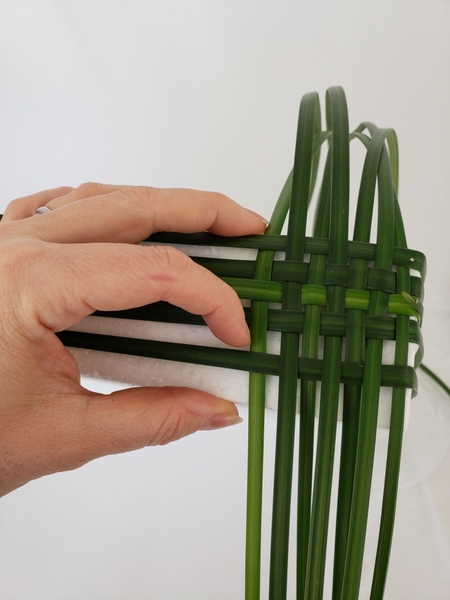
Move the grass to fit snugly as you go around the edge of the block.
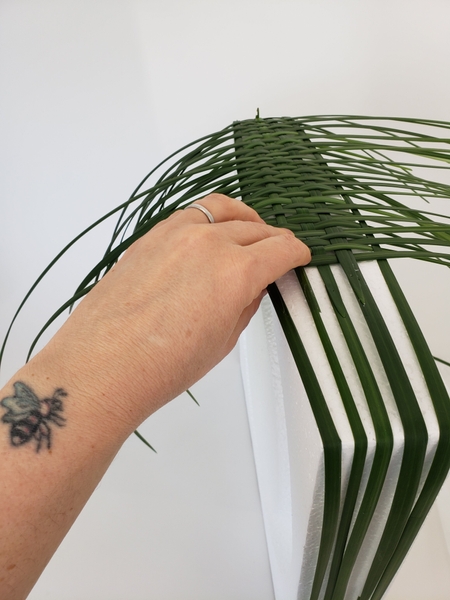
Weave in grass letting it extend far over the sides to make it easier to keep the blades in place.
Design note: Two sides of the block will be covered by weaving and the other half with grass snippets.
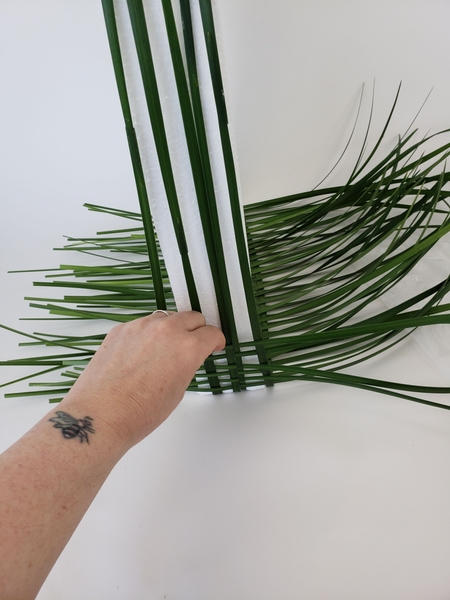
Let the grass rest on your working surface so that it stays in place as you add blades.
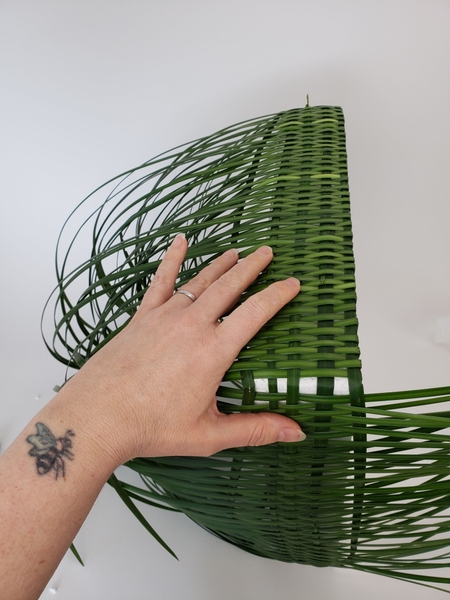
Fold the grass over and pin it to the back. You can also weave the back if it might be seen.
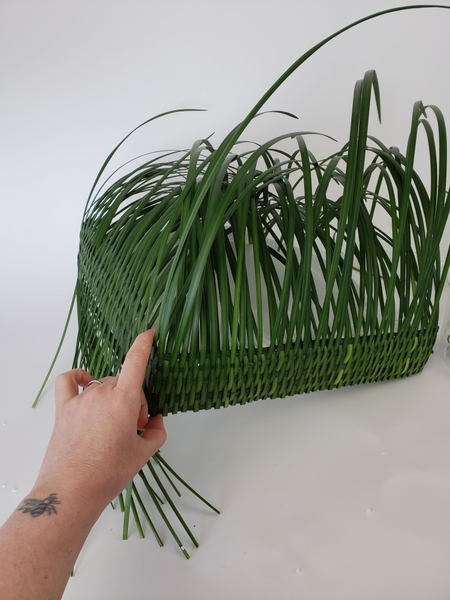
Wiggle the blades of grass and weave in grass if any gaps appear while securing the back.
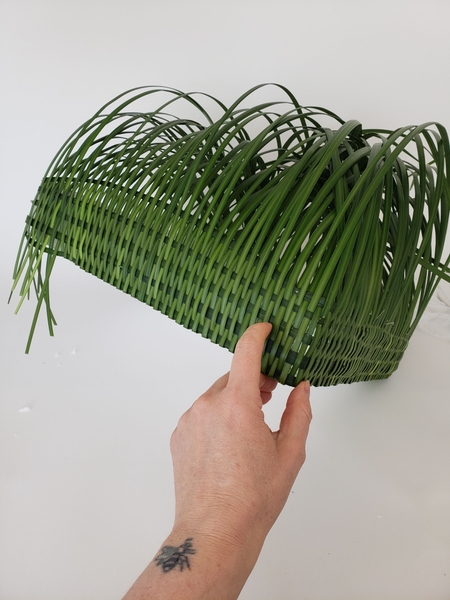
Creating a neat woven foundation for the design.
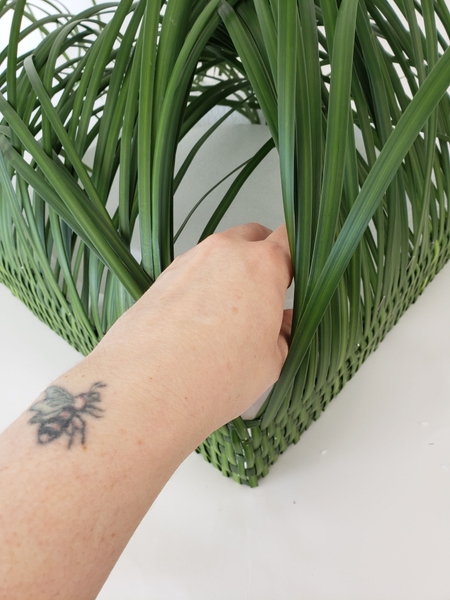
Rest the block on your working surface, pinned side down.
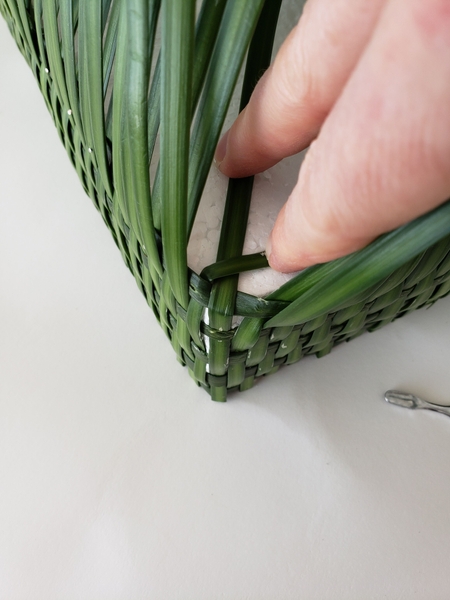
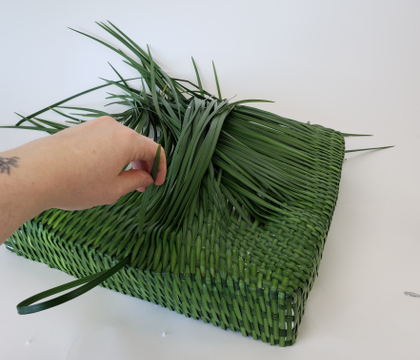
To follow the weaving pattern to the front cross the corner most blades of grass over
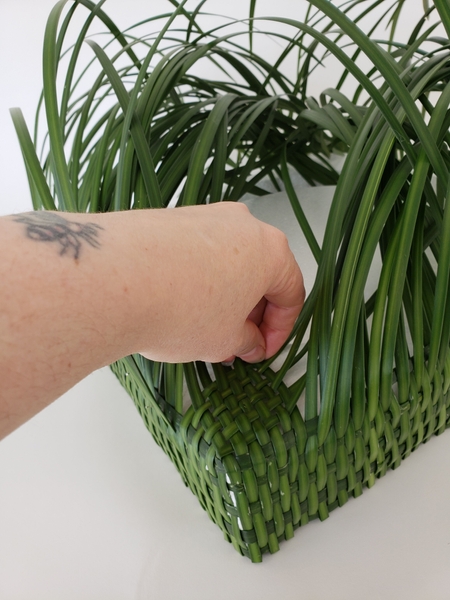
Followed by the blade of grass next to that... and the blade of grass next to that one...
Design note: This is quite a time consuming project. If you need to take a break for a few hours and want to keep the grass from drying out see the Tutorial below
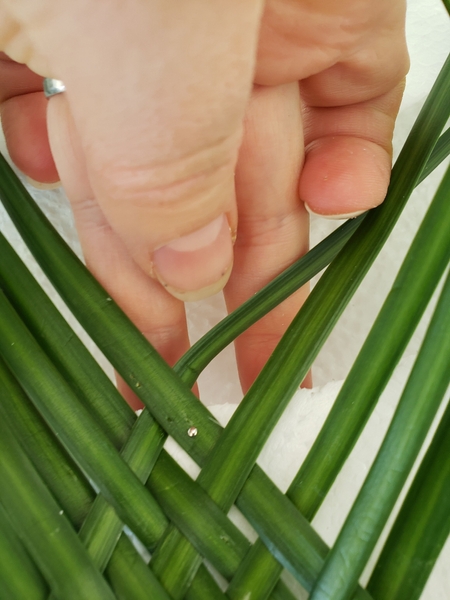
Pin the grass to keep it in place while you are weaving.
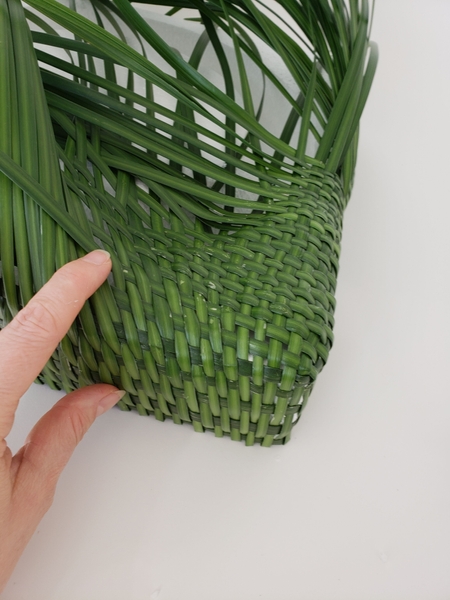
Build up the weaving pattern to curve smoothly over the edge of the block
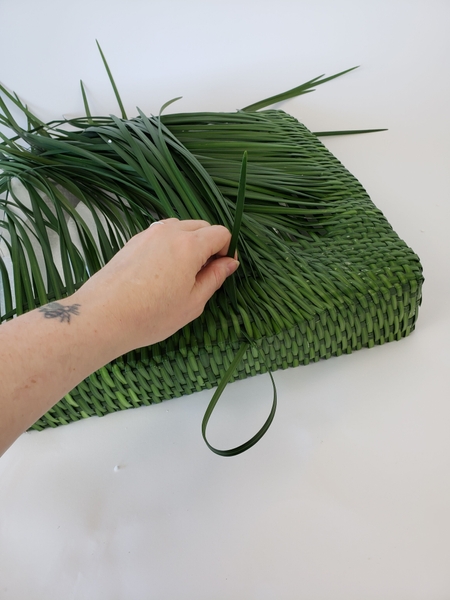
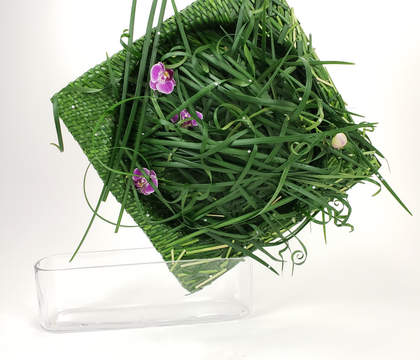
For my design I wove two sides of the block...
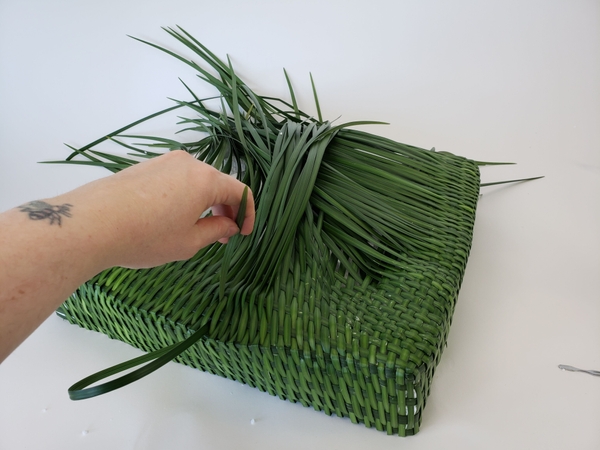
... With the weave getting gradually wider the further from the edge.
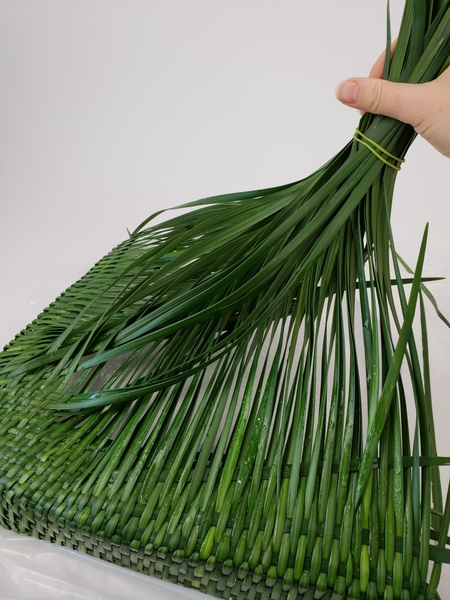
Tie the dangling blades of grass with an elastic band to keep it neatly out of the way.
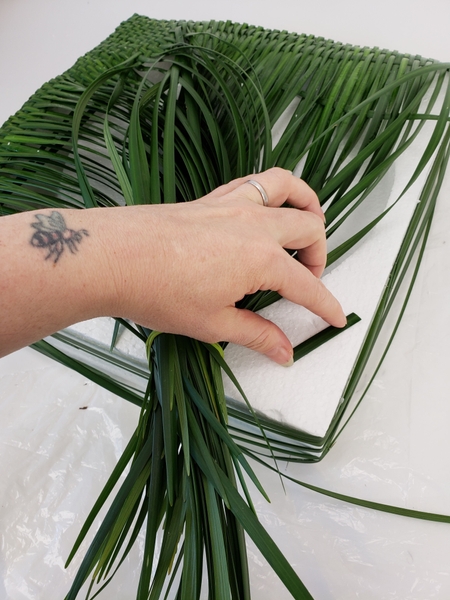
And glue down grass snippets to the other half.
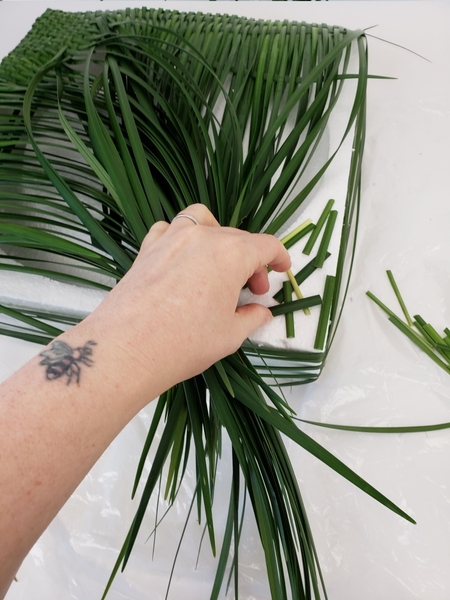
After the neatness of the woven half just have fun and add snippets in any which way. This is a great way to add maximum contrast.
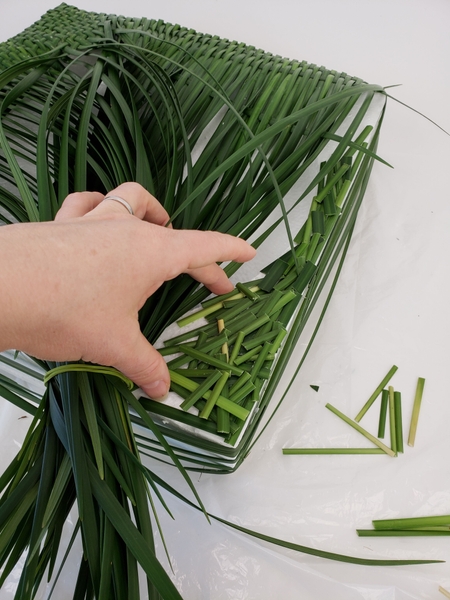
Cover the entire surface of the exposed block.
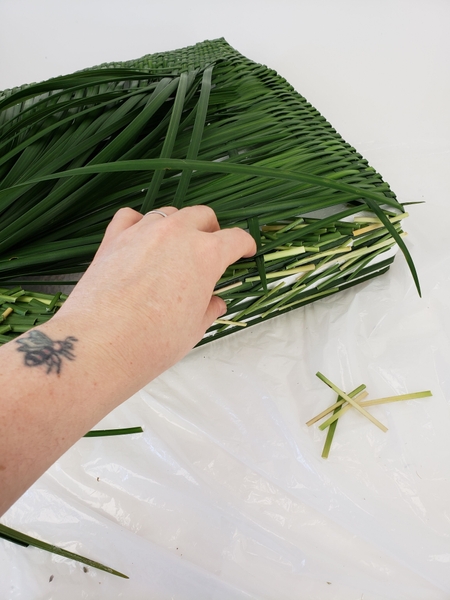
Cover the remaining sides with grass snippets.
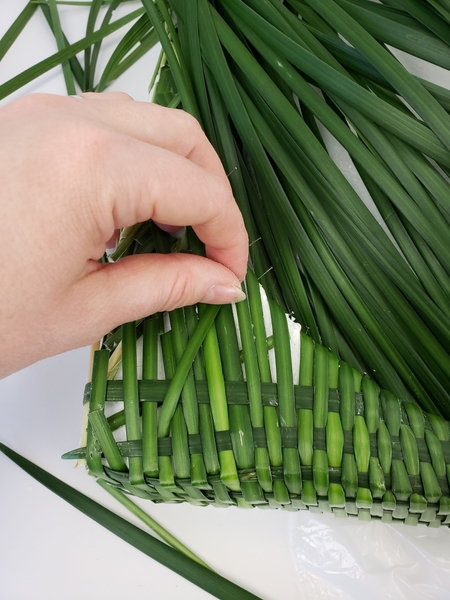
Change the weaving pattern at the corners where the snippets and the weaving meet. Randomly interweave the blades so that the line between the snippets and the woven part blurs.
Design note: I have a lot of weaving techniques and suggestions in my book if you want to learn more.
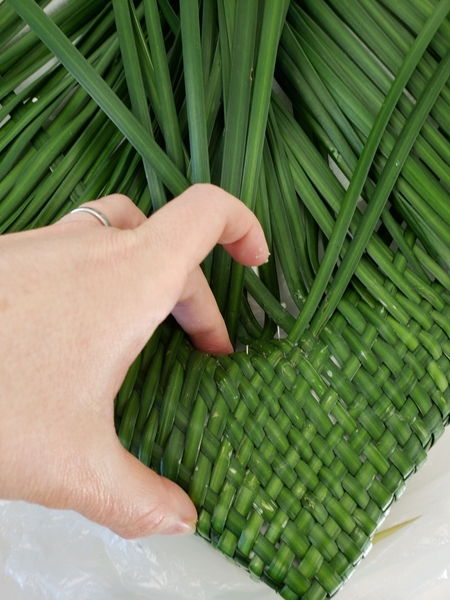
Pin the grass and then glue it down to follow the hollowed out disk in the middle.
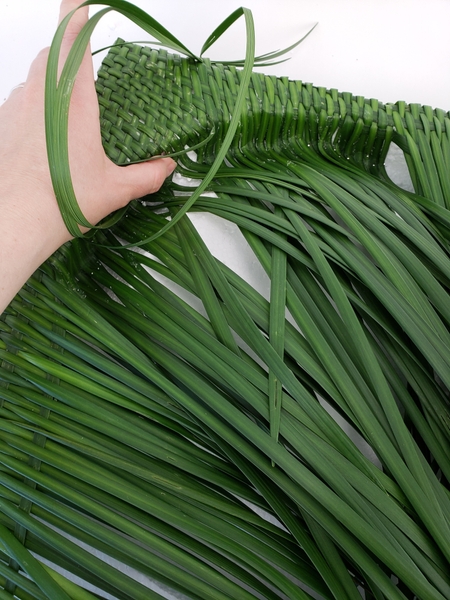
Bend a few blades of grass out of the way so that they can dangle over the design once everything is glued down.
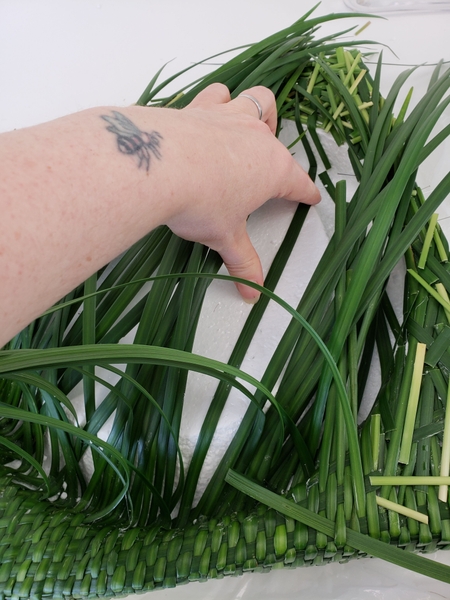
Fold blades of grass over the inside of the disk and glue down to follow the curve.
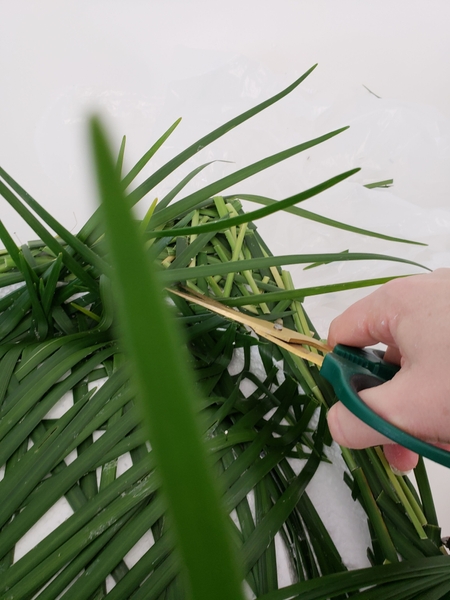
Cut any grass tips away the extend over the edge.
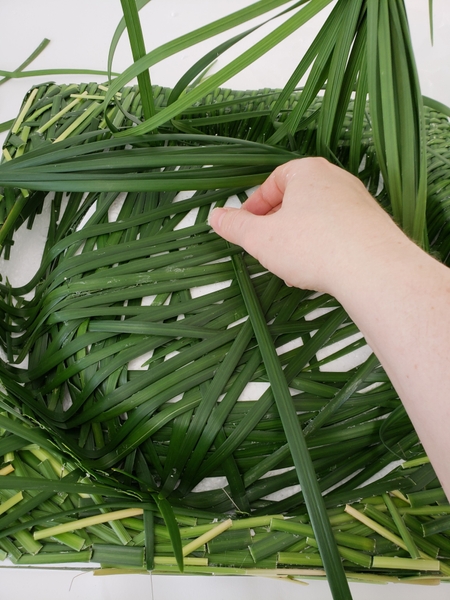
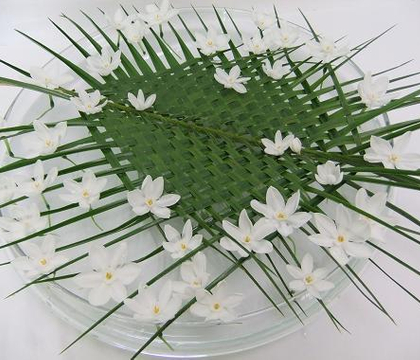
Interweave the blades of grass to create a beautiful and lush pattern.
This is rather messy work! See the Tutorial below for an easy way to dab away floral glue spills.
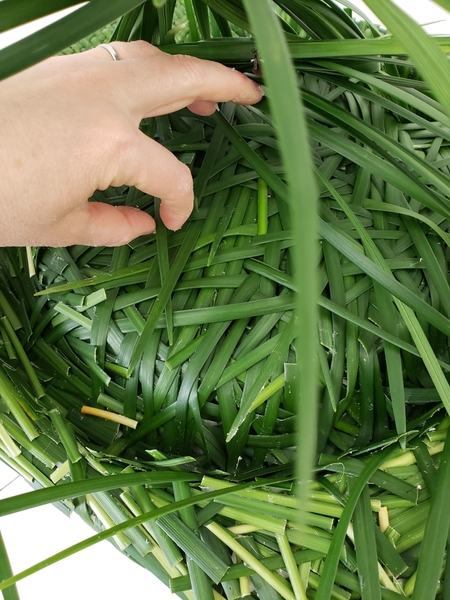
Cover up the entire surface, taking one blade of grass at a time from the "pony tail" of grass that you have tied back.
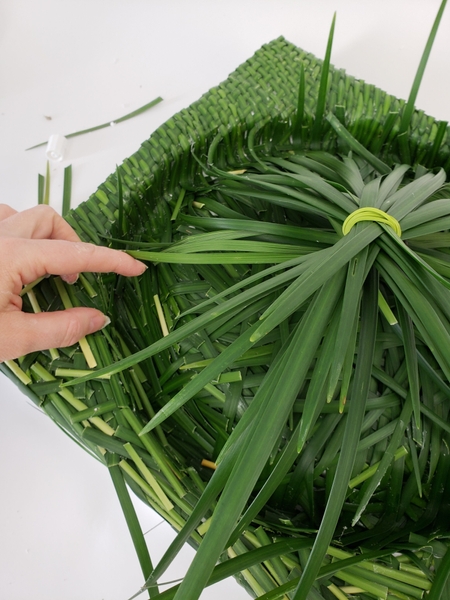
Add a the tips of the grass that you cut away back into the center of the design. keep some of the longer blades of grass to fold over the design once done.
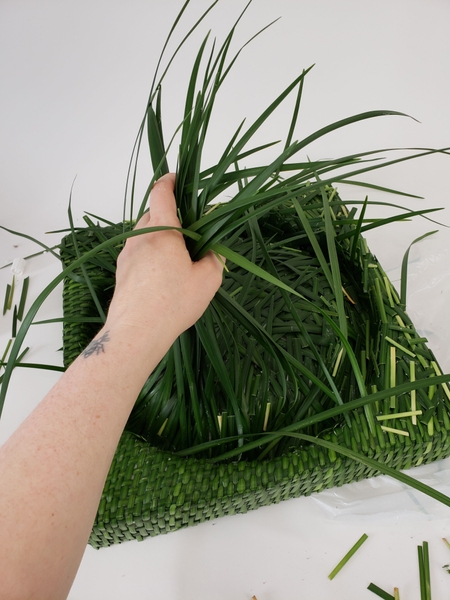
Remove the elastic band and all the pins that are visible in the front of the design.
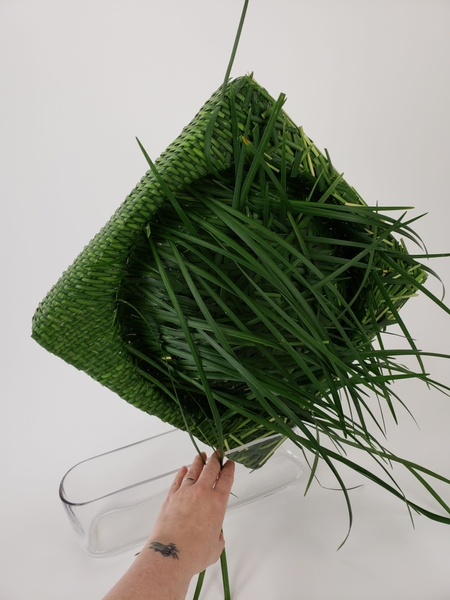
Place the block on your display table. I placed mine in a glass container to keep it upright.
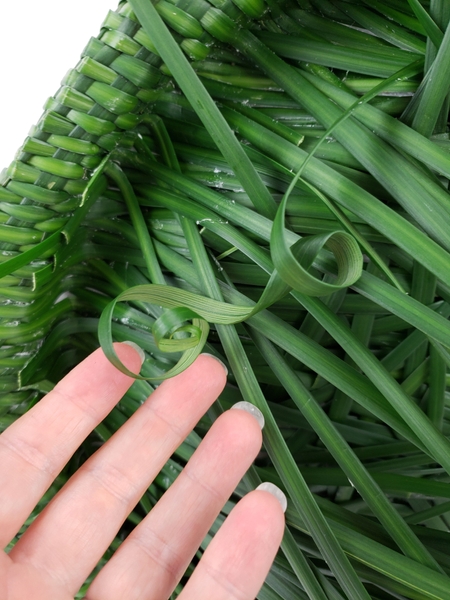
Curl a few of the remaining dangling blades of grass.
See the Tutorial below for more detailed instructions on how to curl grass. You will also find more instructions on how to manipulate grass in my book.
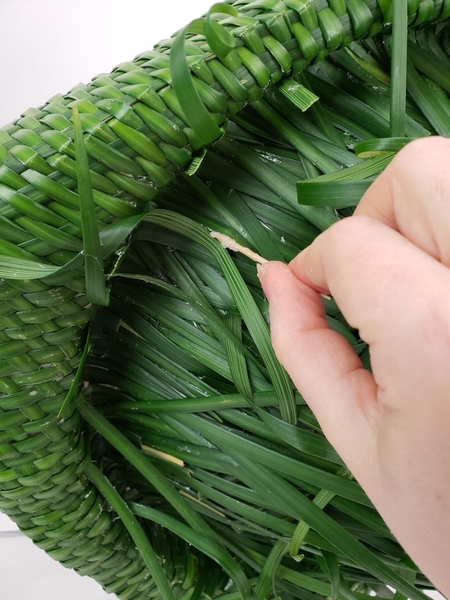
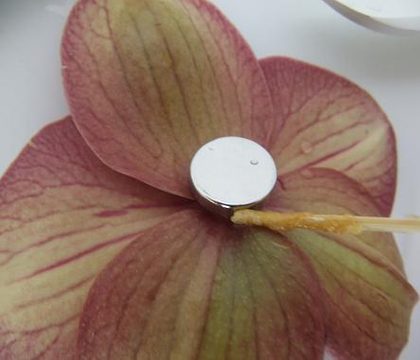
Dab away all the blobs of spilled glue.
For more detailed instructions on how to dab away glue spills see the Tutorial below.
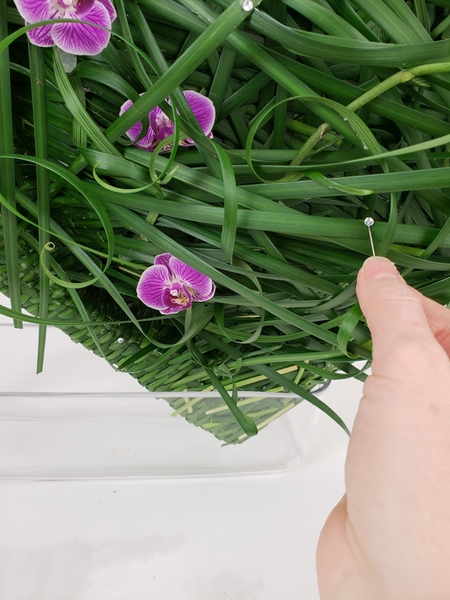
Place the flowers in fresh water tubes and add a few dew drop crystals.
For more detailed instructions on how I make my own water tubes and how I add the crystals see the Tutorials below.
Sign up for my weekly newsletter
Every week I add a new design with related tutorials. Be sure to subscribe to receive an email notification with design inspiration.
Tutorials
When weaving a more labour intensive design you might want to/have to break for a few hours. This is the best way to keep the project from dying out too quickly.
The finish of every design should be flawless. Make sure there are no bits of glue visible in your design by carefully removing all traces of spills.
When you need to keep a tiny stem hydrated this is just what you need.
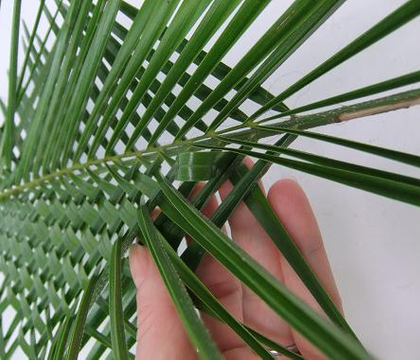
For this tutorial I focus on a simple weave pattern that does not require you to soften or prepare the leaves to be more durable or flexible. This is the starting point in...
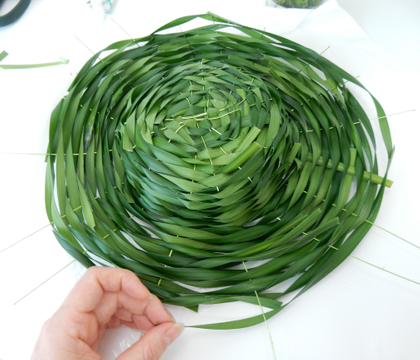
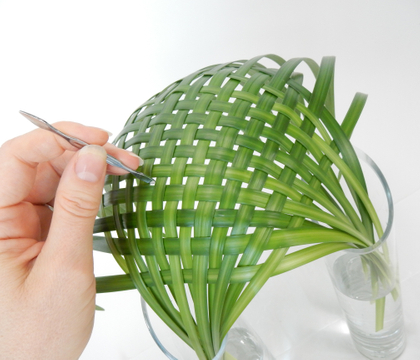
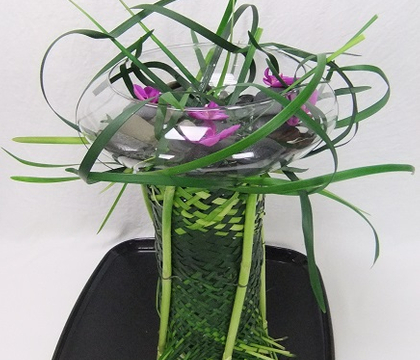
Weave a canopy or parachute shaped armature in a way that you can place the stems in two vases to keep it hydrated.
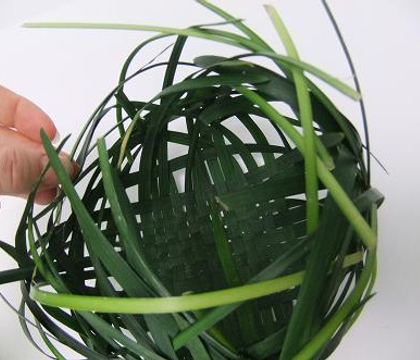
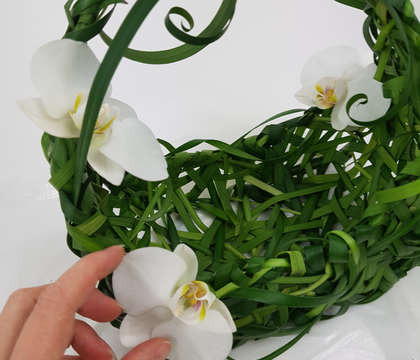
A bit of a planned-messy woven basket that is sturdy enough to carry small items.
Related Designs
This week I am so excited to share my article and design that was published in the recent issue of the Floral Art Society of New Zealand's Academy Magazine for NZ qualified...
A design so fine you can easily miss it... if it were not for the interwoven pebbles catching your eye.
A light and airy (no floral foam but still long lasting) floral design for those days that you are really, really looking for signs of Spring.
A closer look at my design at Canada Blooms and The Toronto Flower Show last week. The show was cancelled right after we staged the designs due to COVID-19 concerns.
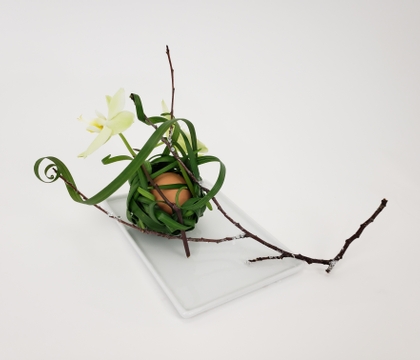
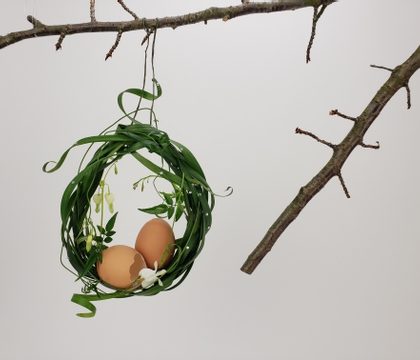
Hide an egg inside a interwoven nest for a dainty Easter decoration design.
Luxuriously filled design... filled with flowers... filled with grass. But most fun, for us as designers filled with hidden techniques
A bottom to the top... top to the bottom support to help keep your summer flowers hydrated.
Mixing permanent and fresh design ingredients to celebrate just how clever the glow of Autumn is.
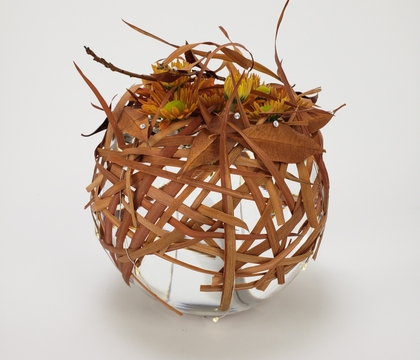
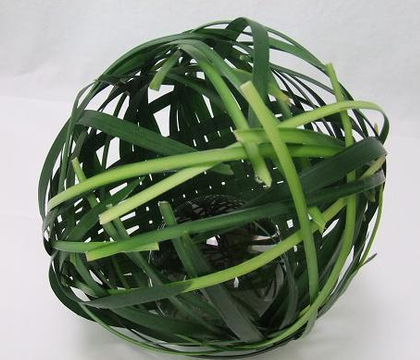
Weave a sphere from grass to catch a precious and exquisite and perfect glistening early autumn dew drop
After a long winter it is always fun to use the first spring bulb flowers!
My article and grass wedding basket design.
