Christine de Beer - effortless floral craftsman
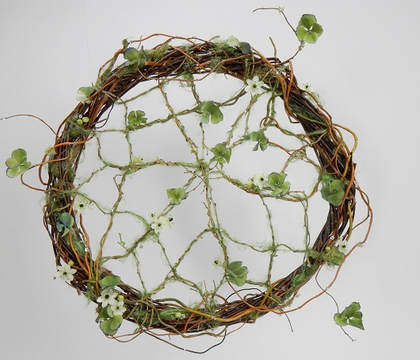
Overgrown Willow web inspired by a traditional Dream-catcher
- 8 July 2015
- click to send Christine a smile
- and more
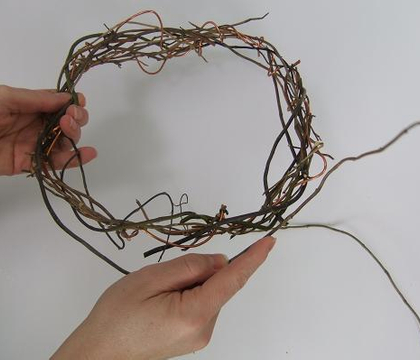
I wanted my willow armature to hint of a web-like dreamcatcher that grows in the wild rather than being a precise replica of the traditional craft technique. But I did weave it in a similar way.
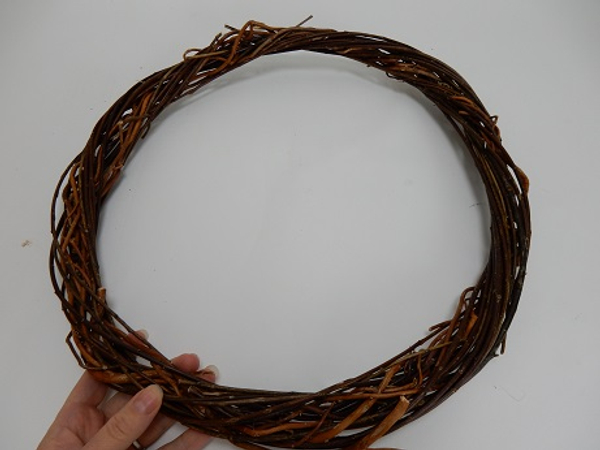
Weave a strong wreath
For more detailed instructions on weaving a wreath see the Tutorial below
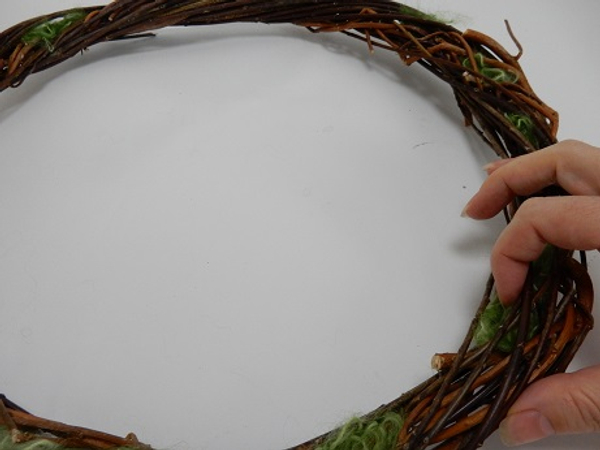
Soften the overall look of the wreath by filling the gaps with wool
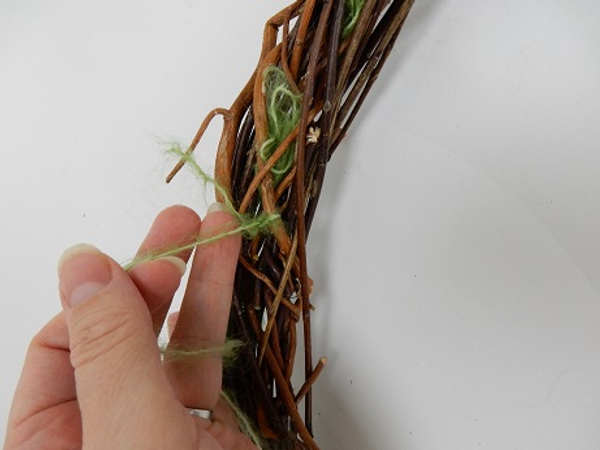
Tie wool to the wreath and secure with a knot
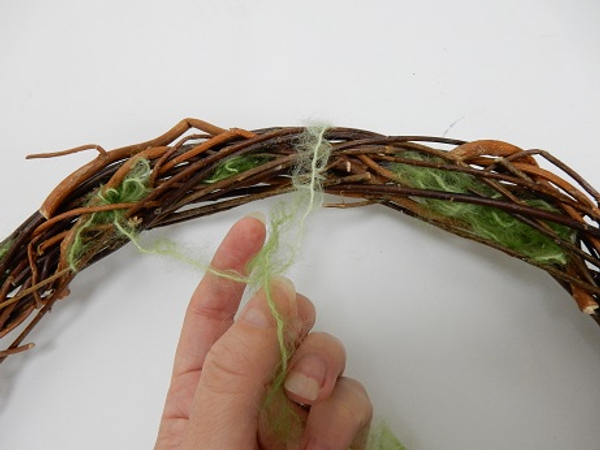
Create a loop in the wool by loosely wrapping the wool around the wreath. I measured the loop to be about four finger width away
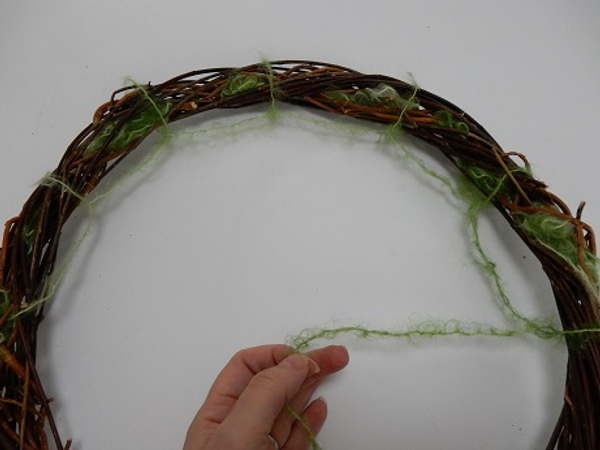
Move around the wreath creating wool loops
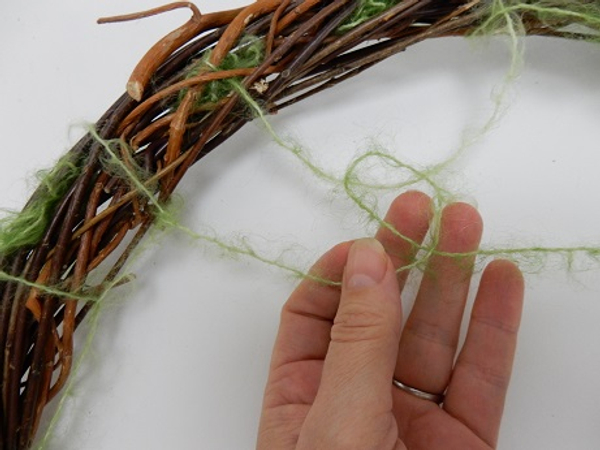
Moving inward start a second row of loops, this time looping the wool around the middle of the first row of loops
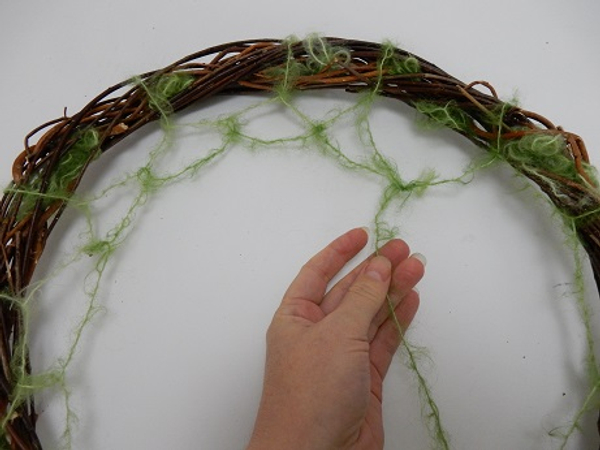
Add loops all the way around the wreath
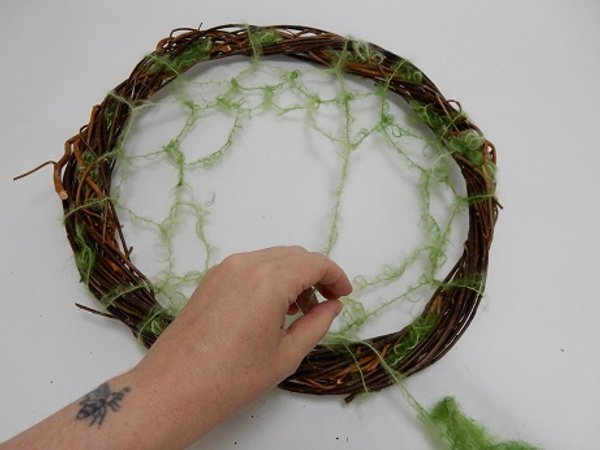
Add a third row of loops.
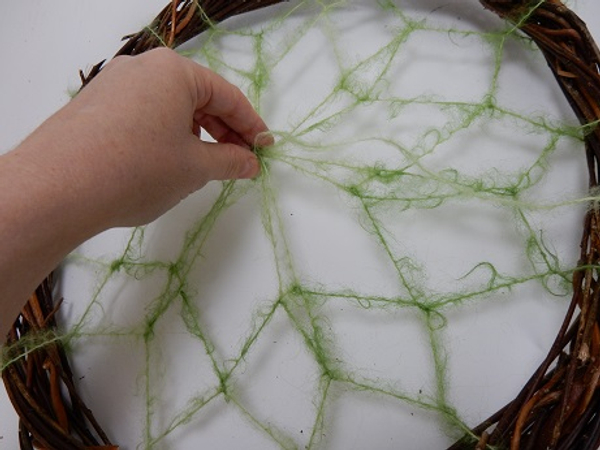
Pull the loops to the middle point of the wreath. Because I wanted my design to look more natural and because the mid-point would be the focal point of my design I moved this gathering point slightly off-center.
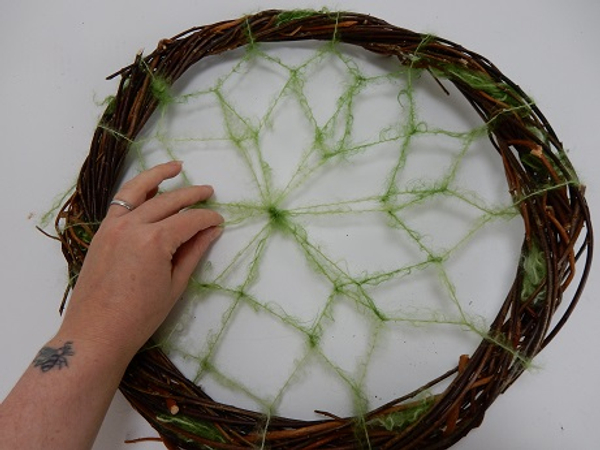
Secure the loops with a knot
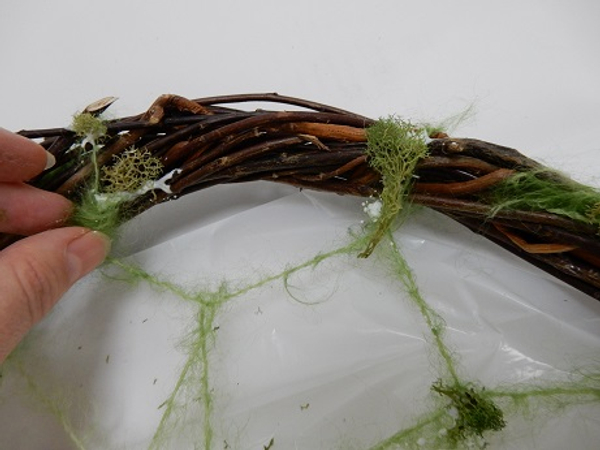
Glue in small clumps of moss
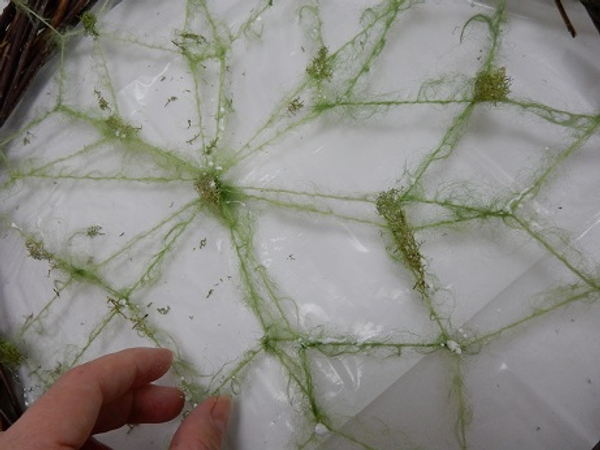
Add glue to the connecting points and sprinkle with moss.
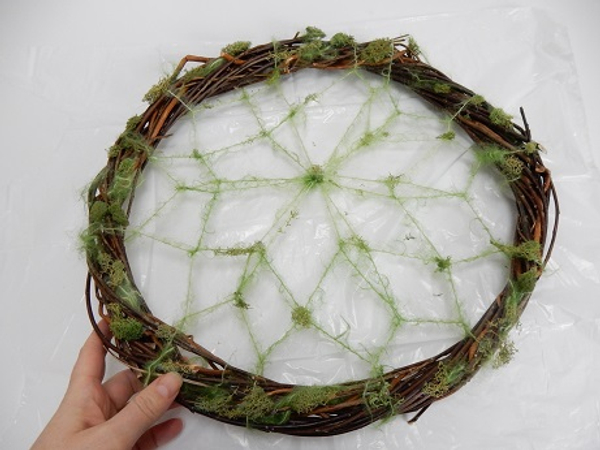
Let the glue dry overnight
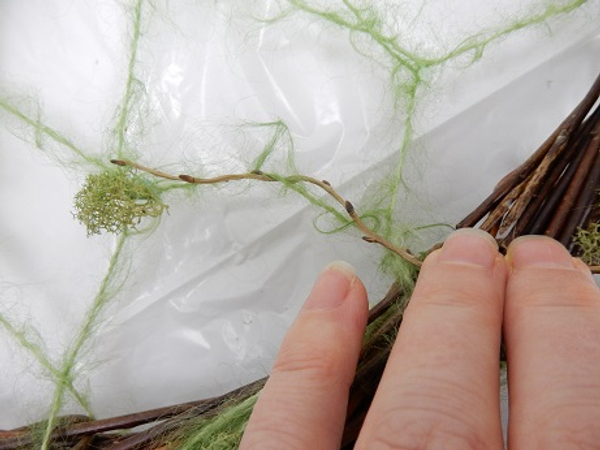
Weave in thin willow stems following the wool pattern
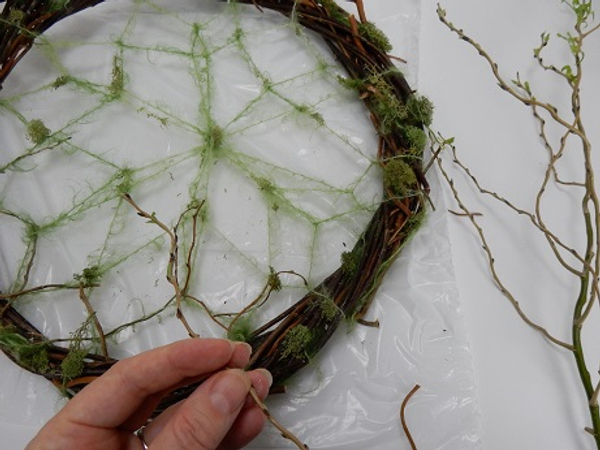
Manipulate each stem to make it more pliable.
See the Tutorial below for more detailed instructions on how to manipulate stems and twigs
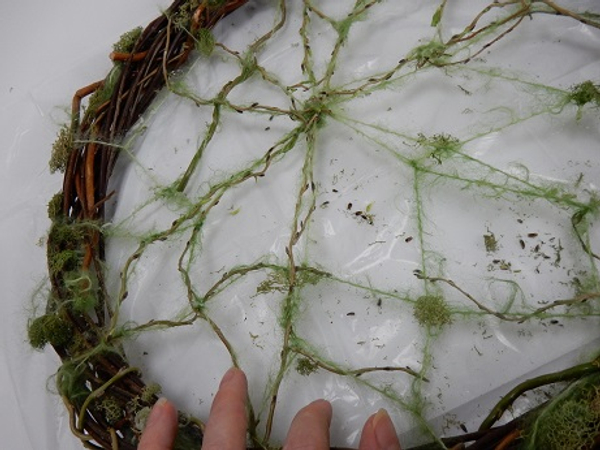
Gently wrap each stem around the wool to cover the entire armature
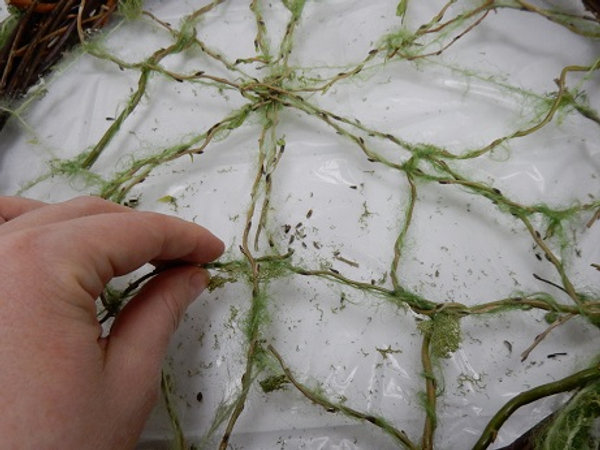
Try to let the stems point inward towards the focal point. This creates the impression that the stems grow from the wreath into the design. Let the tip of each stem face inward.
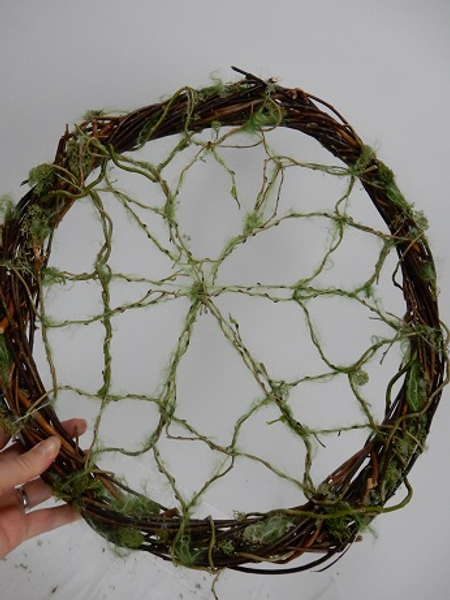
Double up on some of the sections to create a natural feel
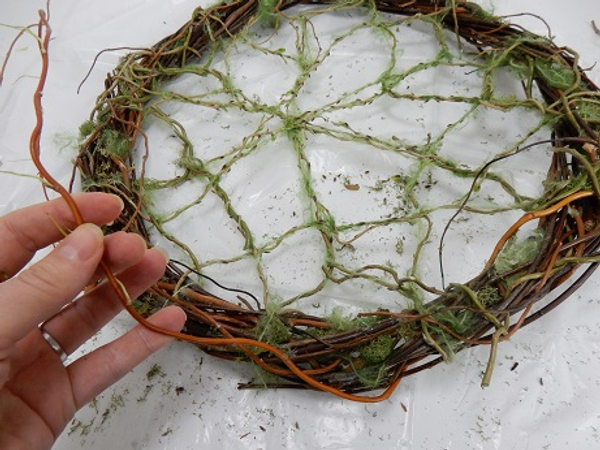
Loosely weave a few thicker stems around the armature to break up the wreath lines
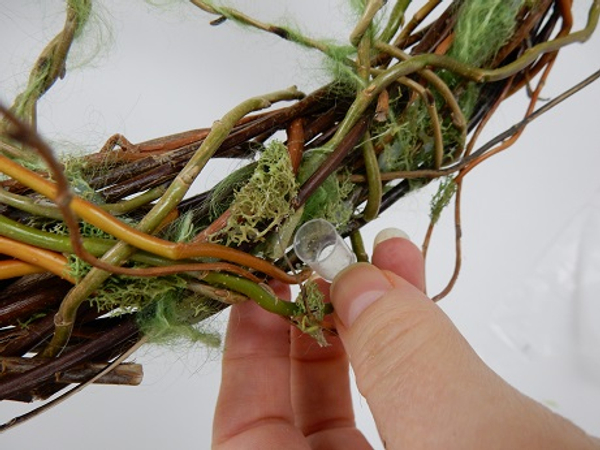
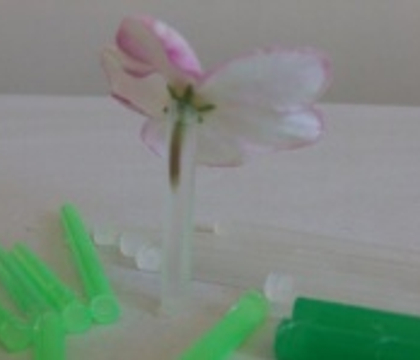
Place tiny test tubes as a water source for the fresh flowers
See the detailed Tutorial below for instructions on how I make my own tubes from drinking straws
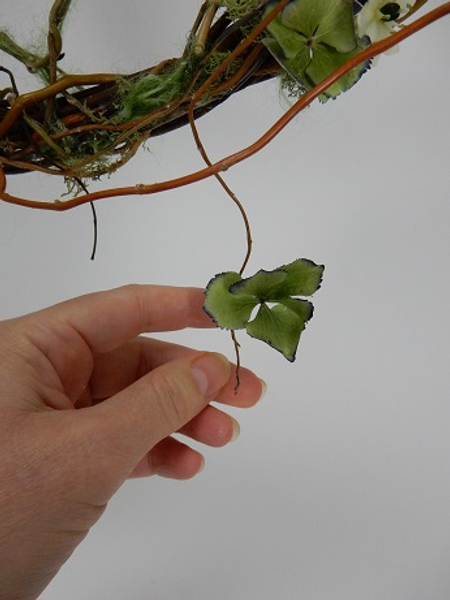
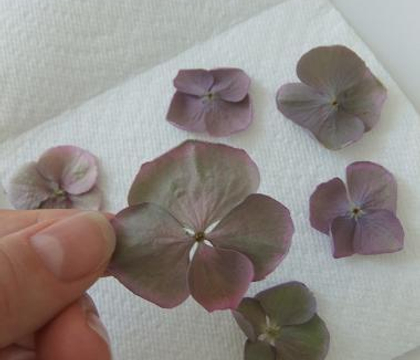
Glue in dried hydrangea florets.
See the detailed Tutorial below for instructions on how to dry Hydrangeas
Sign up for my weekly newsletter
Every week I add a new design with related tutorials. Be sure to subscribe to receive an email notification with design inspiration.
Tutorials
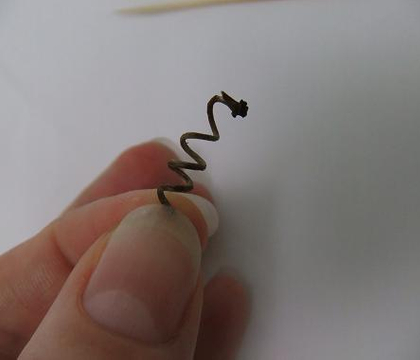
For my design I wanted the wreath to look wind blown so I added a few loosely woven twigs into the weave. I also wanted to emphasize the autumn colours so I added a twirling...
Most stems, twigs and even sturdier branches can be bend into shapes. It takes practice and more than a bit of patience. The main idea is to slowly manipulate the branch without...
When you need to keep a tiny stem hydrated this is just what you need.
Use all three methods to dry hydrangeas to get three very different textures to use in design work.
Hold a dried hydrangea flower in the palm of your hand to smooth out the folds
Related Designs
Take inspiration from a traditional Dream-catcher design to create a floral armature
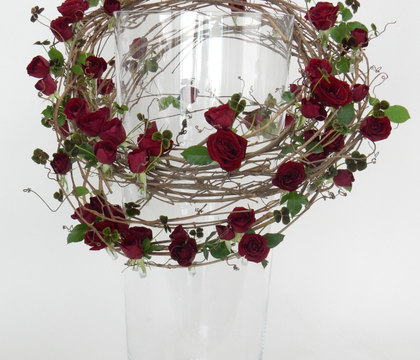
Open a vine wreath to create a spiral twig armature around a glass container
Left over flowers and off-cuts are ideal to transform into a quick floral crown or necklace. This is the absolute easiest design, yet!
Whether it’s a solid foot for floating flowers, the tips of new growth or the curve of a dried twig your design needs help to stay upright.
Wire dried pepper berries to a wreath with super fancy flat wire (okay... it's the humble wire from a copper pot scrubber but it still looks fancy!)
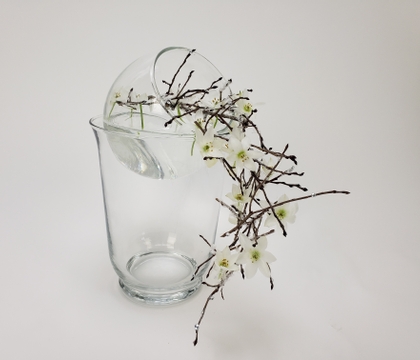
Place a small fishbowl vase at an angle to look like it is pouring out flowers and twigs.
Using fresh twigs to bind a little twig platform to suspend the beautiful orchids from.
